
As you know by now, the Metasploit Framework is one of my favorite hacking tools. It is capable of embedding code into a remote system and controlling it, scanning systems for recon, and fuzzing systems to find buffer overflows. Plus, all of this can be integrated into Rapid7's excellent vulnerability scanner Nexpose.
Many beginners are uncomfortable using the interactive msfconsole and probably will be without a significant amount of hours spent using Metasploit. However, Metasploit does have other means of controlling the system that make system exploitation a touch easier for those of you uncomfortable with the command line.
For those who are more comfortable using a graphical user interface (GUI), Raphael Mudge has developed one that connects to and controls Metasploit much like a Windows application. He calls it Armitage, and I've covered it briefly in my Metasploit primer guide. Especially for new, aspiring hackers, Armitage can make learning hacking with Metasploit a quicker and much less painful process.
Let's take a look a Armitage and see how it can make hacking simpler.
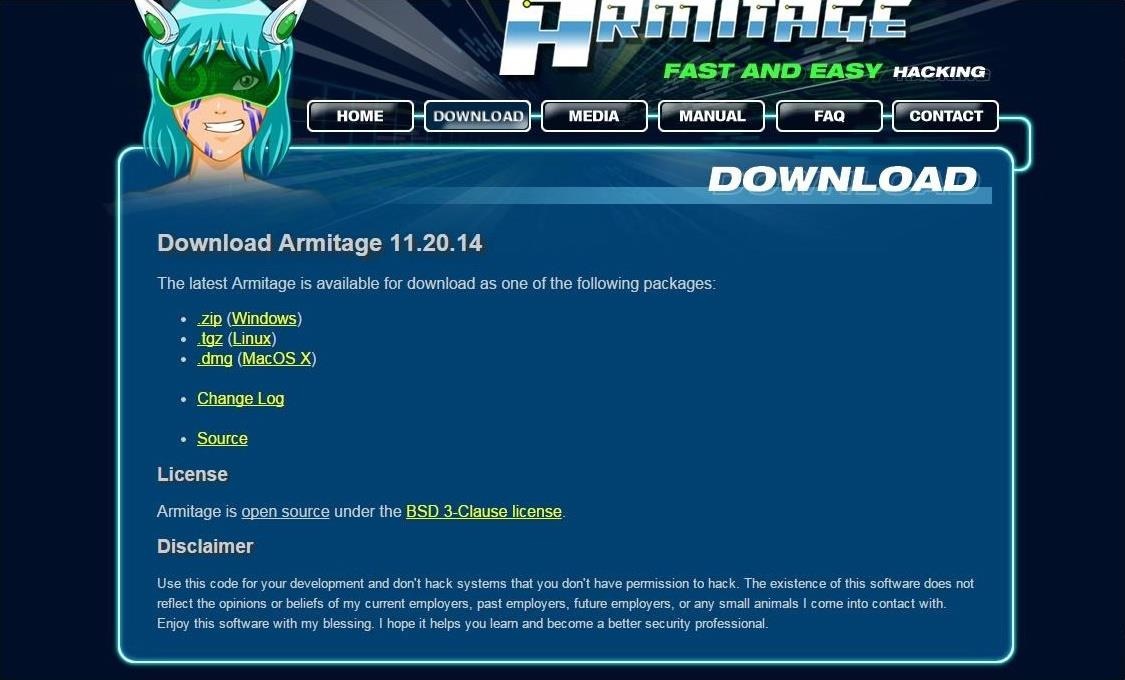
Step 1: Download Armitage
The first step, of course, is to download Armtage. If you have BackTrack or the early versions of Kali, you probably don't have Armitage, but you can get it from Armitage's website.
- kali apt-get install armitage

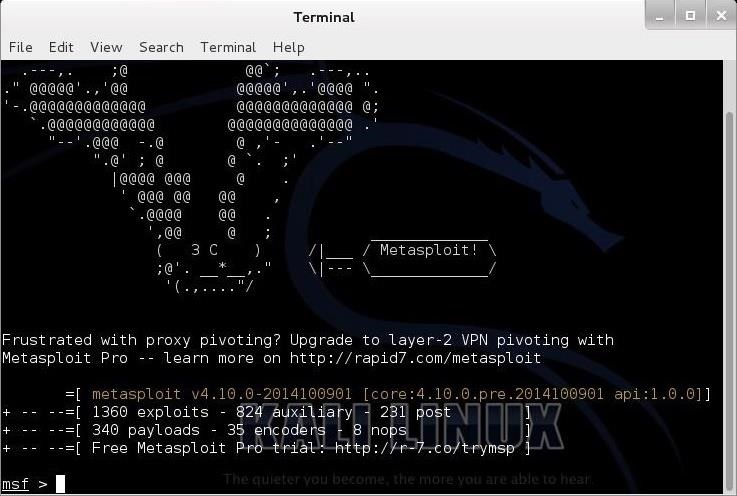
Step 2: Start Metasploit
Once you have Armitage downloaded onto your system, the next step is to start Matsploit. Make certain the postgreSQL server is started by typing:- kali > service postgresql start
- kali > msfconsole
Step 3: Start Armitage
Armitage uses a client/server architecture where Metasploit is the server and Armitage is the client. In essence, Armitage is a GUI client that I can interact and control the Metasploit server.Start Armitage in Kali by typing:
- kali > armitage
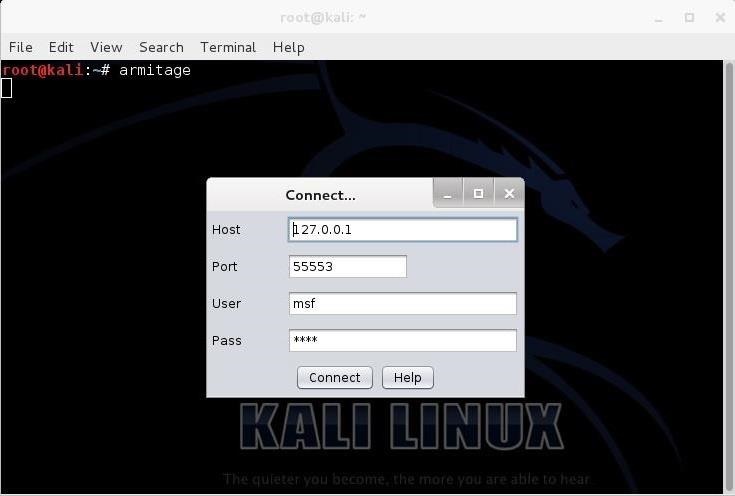
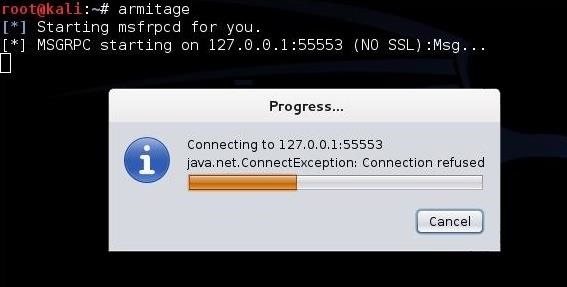
Step 4: Start the RPC Server
Armitage connects to an RPC server in order to control Metasploit. You are likely to see the following screen after starting Armitage.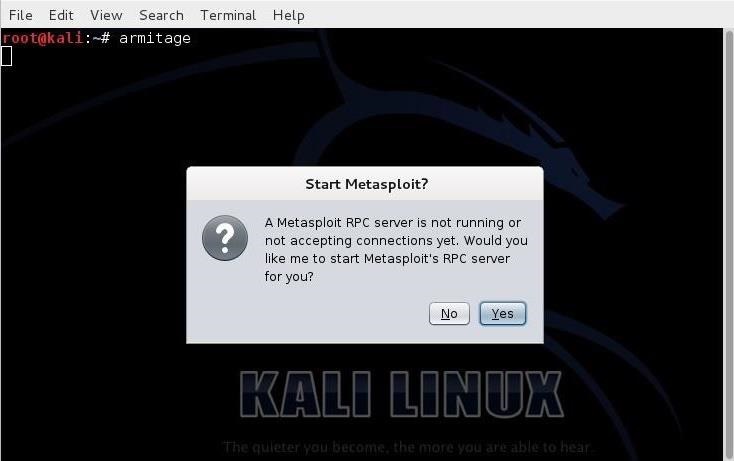
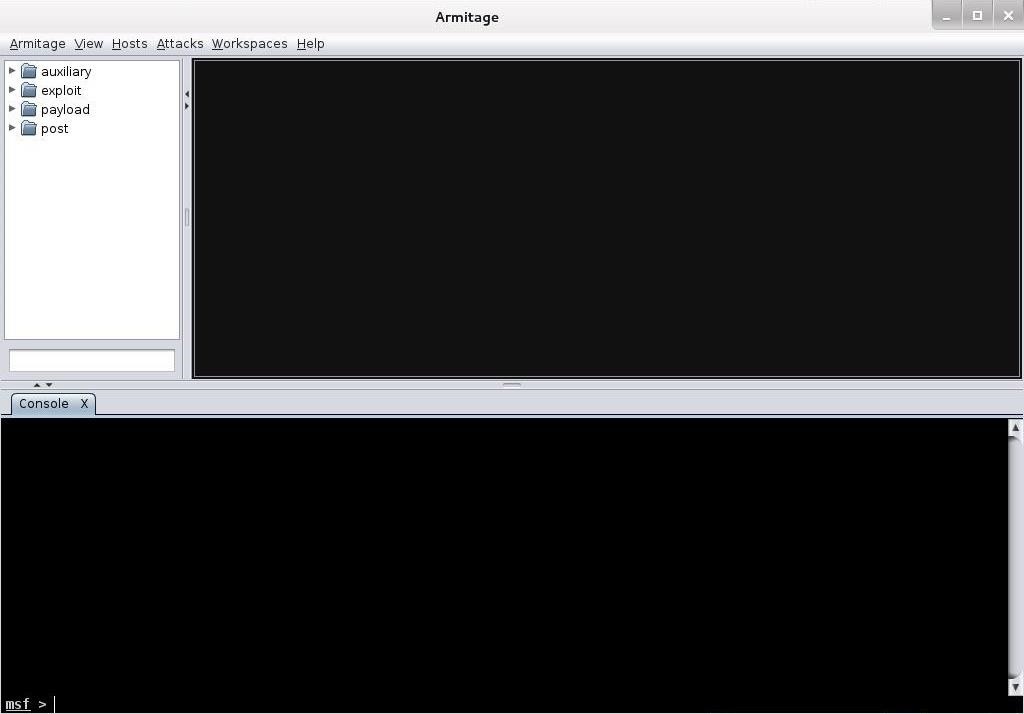
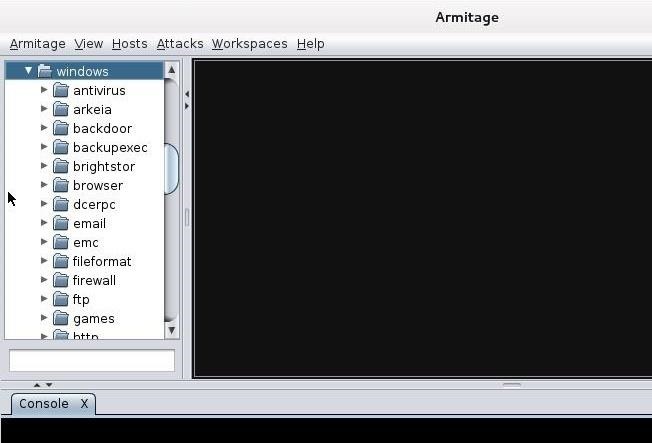
Step 5: Explore Armitage
Notice in the upper left-hand corner of the Armitage screen, you can see folders. These folders contain four types of Metasploit modules;- auxiliary
- exploit
- payload
- post
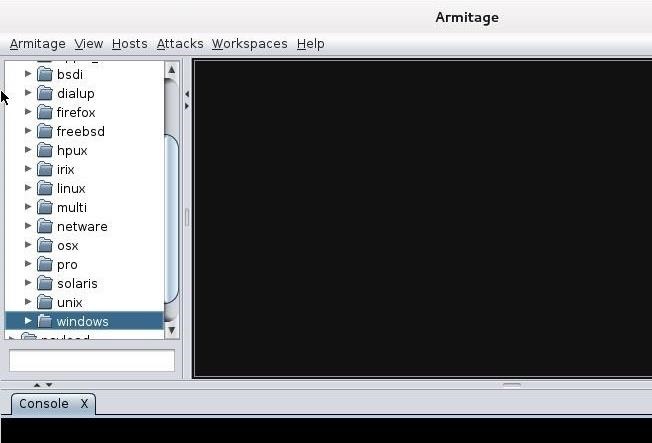
We can expand the exploit modules directory by clicking on the arrow head to its right. When we do so, it expands and show us its contents.
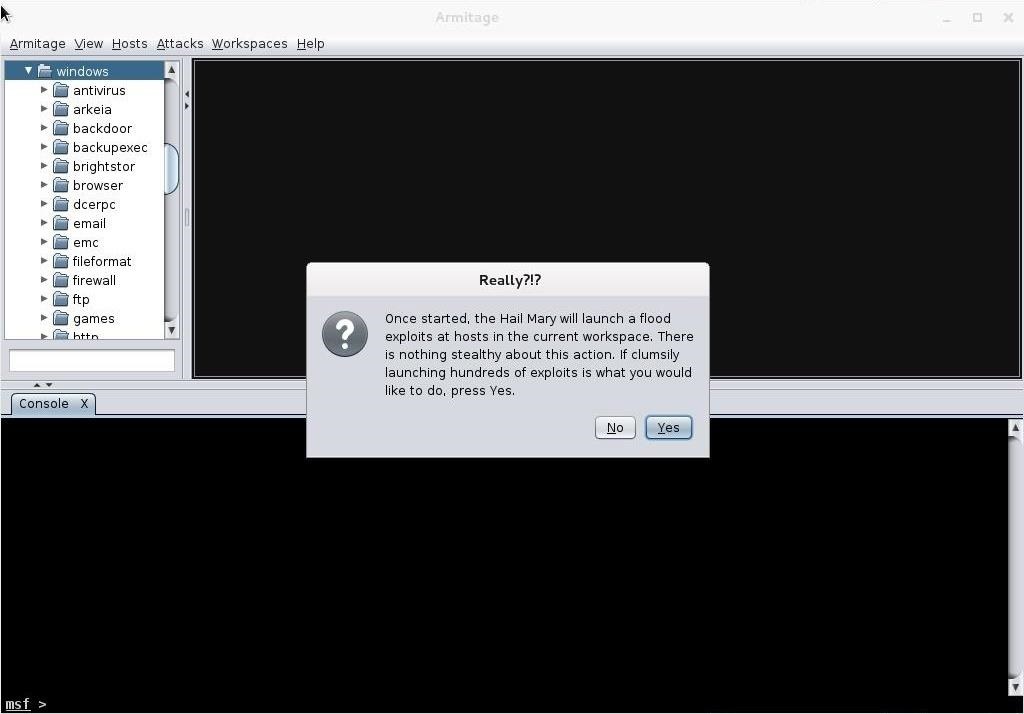
Step 6: Hail Mary!
Nearly everything you can do with the Metasploit console, you can with Armitage. There is one thing though that you do with Armitage that you cannot do with msfconsole (at least without scripting). That one thing is to throw the Hail Mary! The Hail Mary is where Armitage will throw every exploit it has against a site to see whether any of them work.Simply go to the "Attacks" menu at the top of Armitage and select "Hail Mary." When you click on it it warns you like in the screen below.
Armitage enables the aspiring hacker to quickly grasp the basics of Metasploit hacking and begin to use this excellent and powerful tool in very short order. We all owe Raphael Mudge a debt of gratitude for developing and giving away this excellent piece of software!